Ready to Simplify Your Home? How to Plan Automation for a Renovation or New Build
The best time to plan motorized shades and lighting control is months before anything gets installed. Here is the timeline we give clients and builders, and the mistakes it prevents.

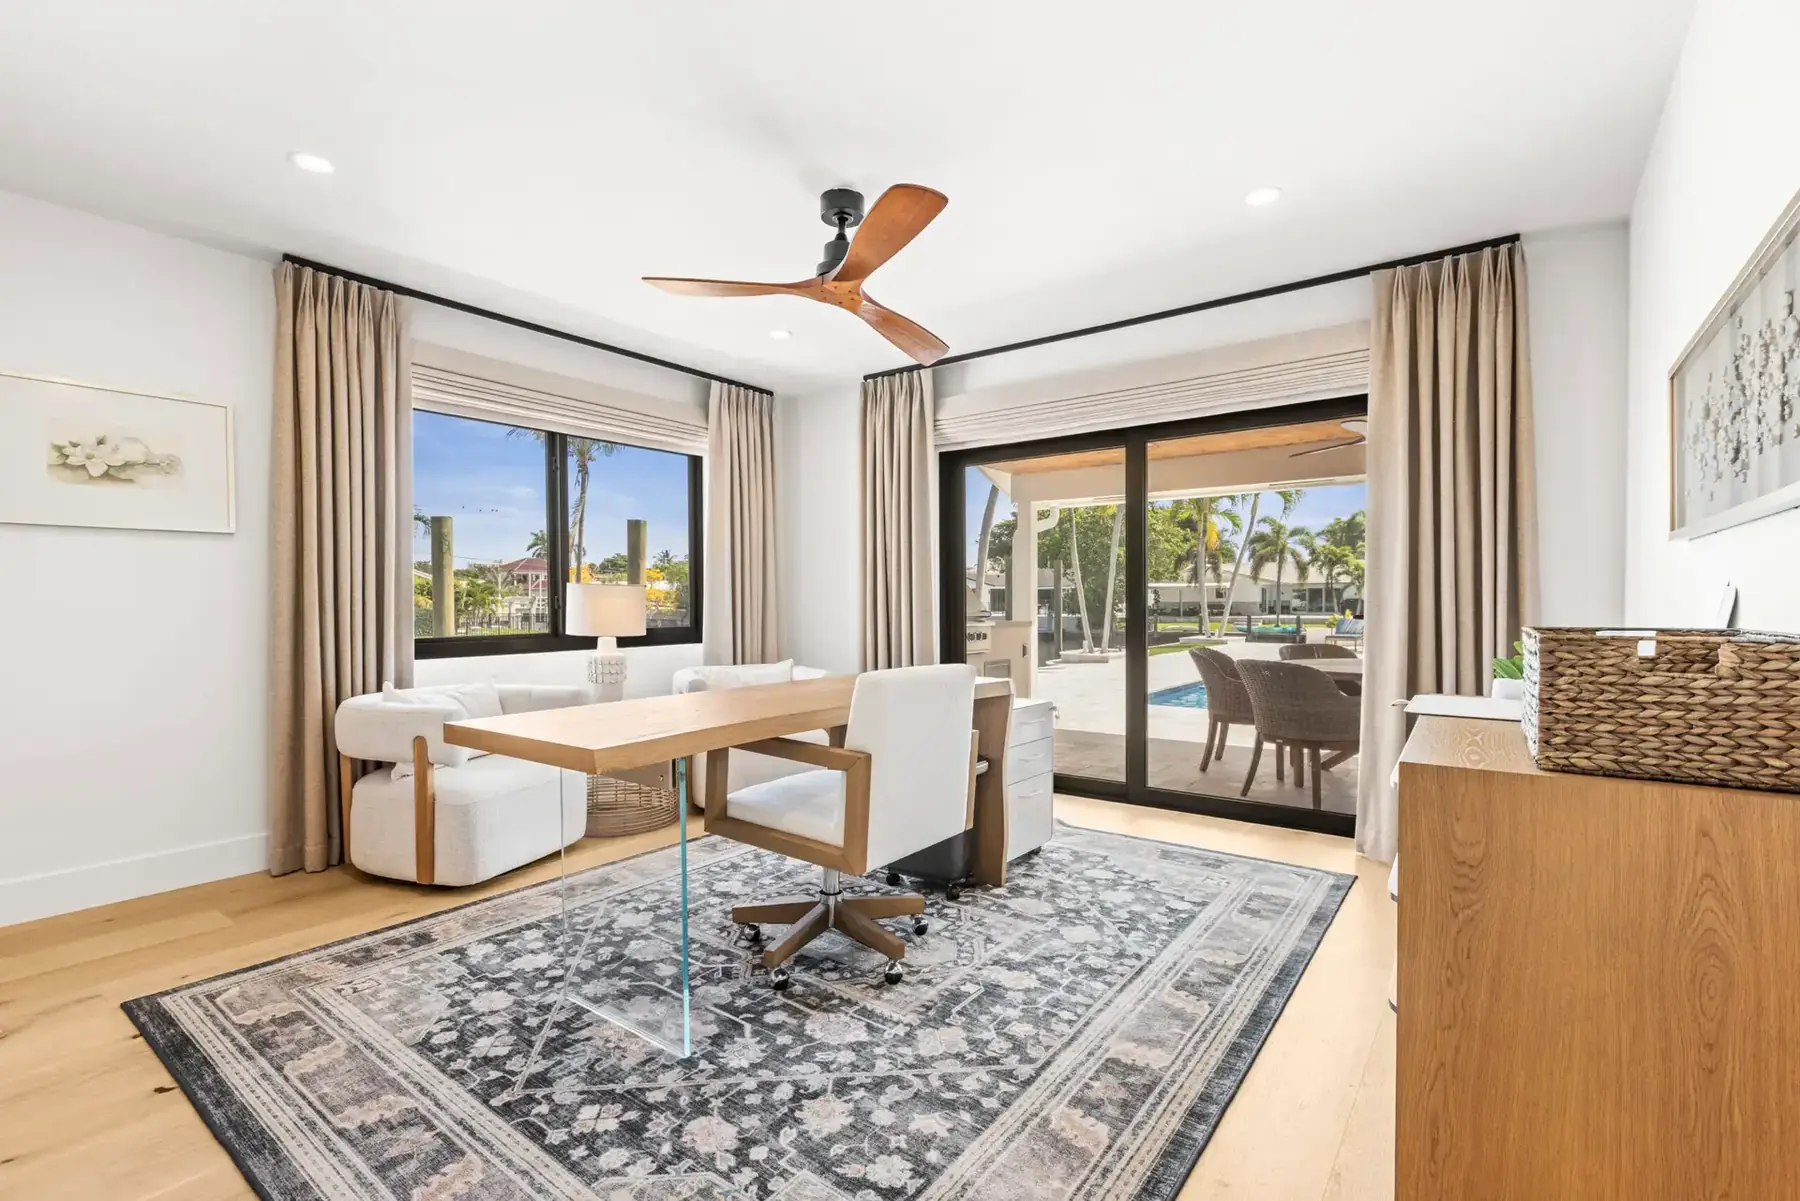
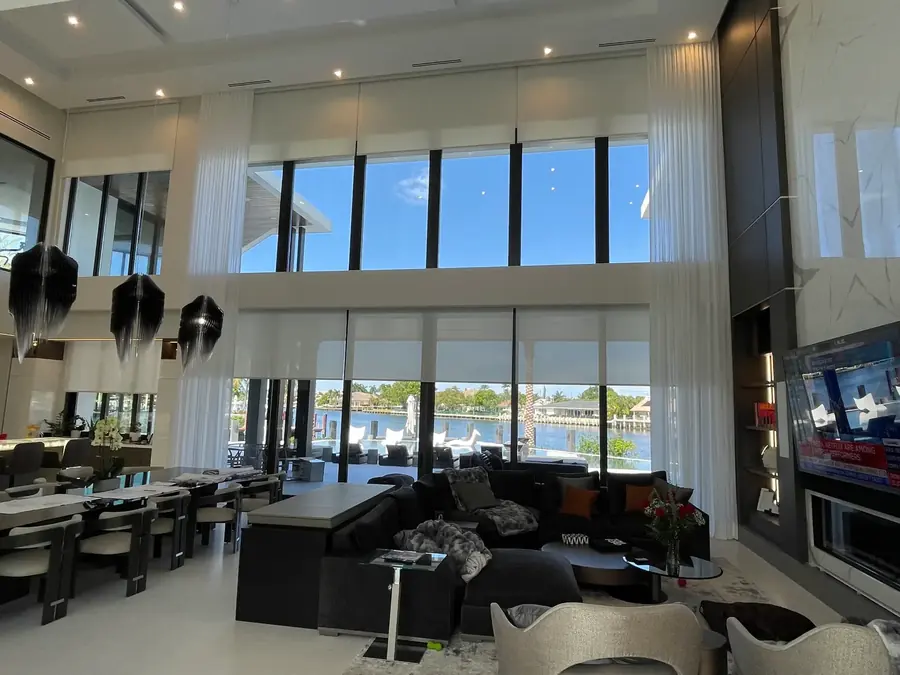
Most of the expensive problems we see in South Florida renovations were decided months before we got the call. A beautiful new great room with no power at the window heads. A row of keypads that landed behind the door swing. A two-story wall of glass with nowhere to hide a 20-foot shade. None of it is hard to get right, as long as someone plans it before the drywall goes up.
If you're planning a renovation, a new build or even a few meaningful upgrades, this is the order we recommend. It works for homeowners managing their own project and for the builders and designers we partner with through our trade program.
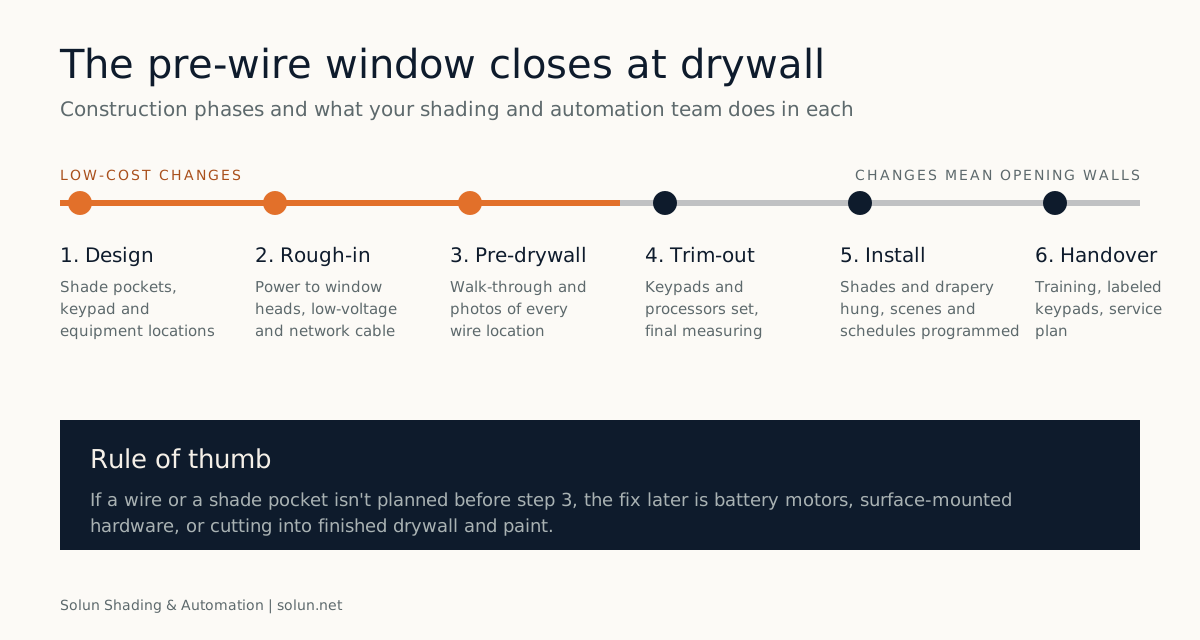
Step 1: Start with how you want to live
Before talking about products, we walk the plans and ask how each room will be used. Which bedroom needs to be completely dark at 6 AM? Where does the afternoon sun hit hardest? Will you watch TV in the family room at noon? Who in the house is least comfortable with technology?
The answers drive everything else: which windows get motorized shades, which get drapery, where blackout matters, which rooms need lighting scenes, and how simple the controls have to be. A good plan follows your routine, not a product catalog.
Step 2: Pick the control platform early
Your lighting control system determines which shade motors fit naturally. If you're putting in Lutron lighting, Lutron shading shares the same keypads, scenes and app. If you want Josh.ai voice control, it sits on top of that foundation. Choosing the platform first prevents the classic mistake of buying shades that need their own app and their own hub.
Not sure what level of system you need? Our article on motorization vs. smart home vs. home automation explains the options, and this comparison of shade motors covers the platforms.
Step 3: Design shade pockets and window heads
A shade pocket is a recess in the ceiling or soffit above the window where the roller and motor hide. With pockets, the shade disappears when it's up and the window reads as pure architecture. Without them, you get a visible headrail or a fascia, which is fine in some rooms and wrong in others.
Pockets have to be framed before the ceiling goes up, and their depth depends on the fabric, the shade height and whether you're stacking two shades (a solar screen and a blackout, for example) in the same opening. We provide pocket dimensions for every window during design.
Step 4: Pre-wire during rough-in
This is the step with the biggest payoff. While the walls are open, the electrician and low-voltage installer should run:
- Power to every window head that could ever get a motorized shade or drapery track, even if you aren't buying the shade yet
- Wiring to keypad locations, set at the same height as other switches and clear of door swings
- Power and data to an equipment location, such as a closet with ventilation, for processors and network gear
- Network cable to wireless access points, so the app and voice control work in every room
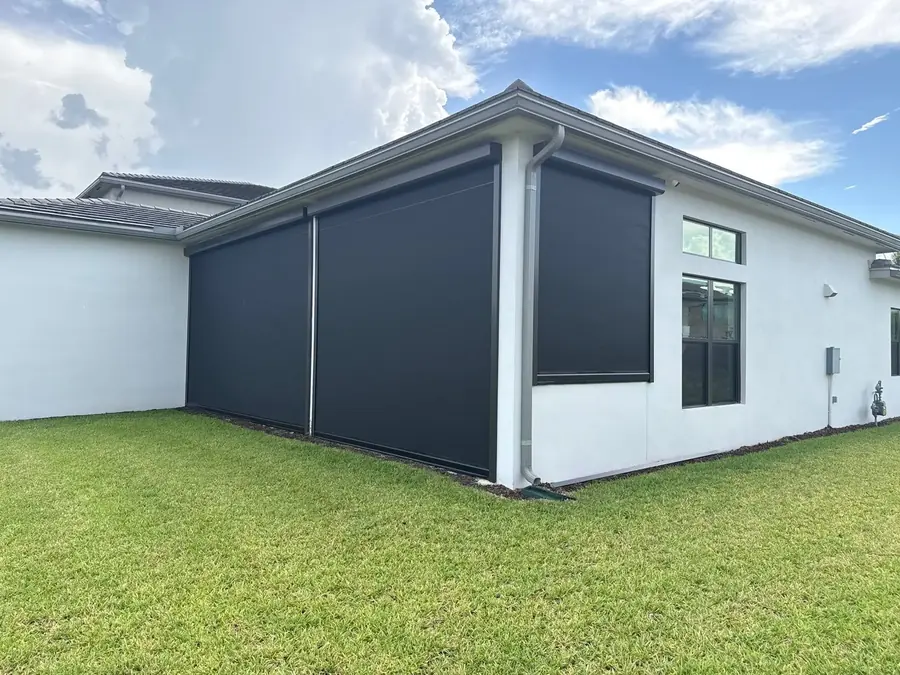
- Power at exterior beams or soffits for outdoor shades
Wire is inexpensive compared with opening finished walls later. In concrete-ceiling condos, where running new wire isn't practical, battery and rechargeable motors are the right answer, and they work with the same keypads and scenes.
Send us the plans
We review drawings for homeowners, designers and builders and mark up shade pockets, power and keypad locations before rough-in.
Start a plan reviewStep 5: Walk it before drywall
Before insulation and drywall, we walk the house with the plans, confirm every wire is where it should be and photograph each location. Those photos become part of your home's records. Years later, when you add a shade or move a keypad, nobody has to guess where the wire runs.
Step 6: Trim-out, install and program
Once walls are painted, keypads and processors go in and we take final measurements for every shade and drapery panel. Custom shades are made to those numbers, so final measuring happens after finishes, not from the drawings. Plan on 3 to 6 weeks from order to install for most products.
Programming is where the system becomes yours. We set scenes for mornings, entertaining, away and bedtime, schedule the west-side shades around the sun, and label every keypad button in plain words.
Step 7: Handover and training
A system is only as good as the household's comfort using it. At handover we walk every family member through the keypads, the app and voice control, and we adjust scenes and timing once you have lived with them for a while.
Phasing the budget
You don't need to install everything at once to plan for everything at once. A common approach in the homes we work on:
- Phase one: full pre-wire, shade pockets, lighting control in main living areas, motorized shades on the hardest-to-reach and most sun-exposed windows.
- Phase two: bedrooms and secondary rooms, drapery tracks, outdoor shades.
- Phase three: voice control, audio and anything else on the wish list.
Because the wire and pockets are in from day one, each phase plugs into the last without opening a wall.
Ready to simplify your home?
A well-planned system is easy to live with because the hard decisions were made early, on paper. If you're starting a renovation or a new build anywhere from Palm Beach to Davie, book a consultation and bring your plans. We'll show you where shades, keypads and power should go, and what it all costs, before a single wall is closed.